Adding Custom Font
Great news! You don’t need coding skills to add custom fonts to your WordPress website. Plus, you won’t have to go through the hassle of setting up SFTP to upload your font files to the server. Instead, use the WordPress media uploader to upload your font files easily. It’s that simple!
Step 1: Add new font
Section titled Step 1: Add new fontGo to Appearance → Yabe Webfont and click the Add New button.

Step 2: Provide font details
Section titled Step 2: Provide font details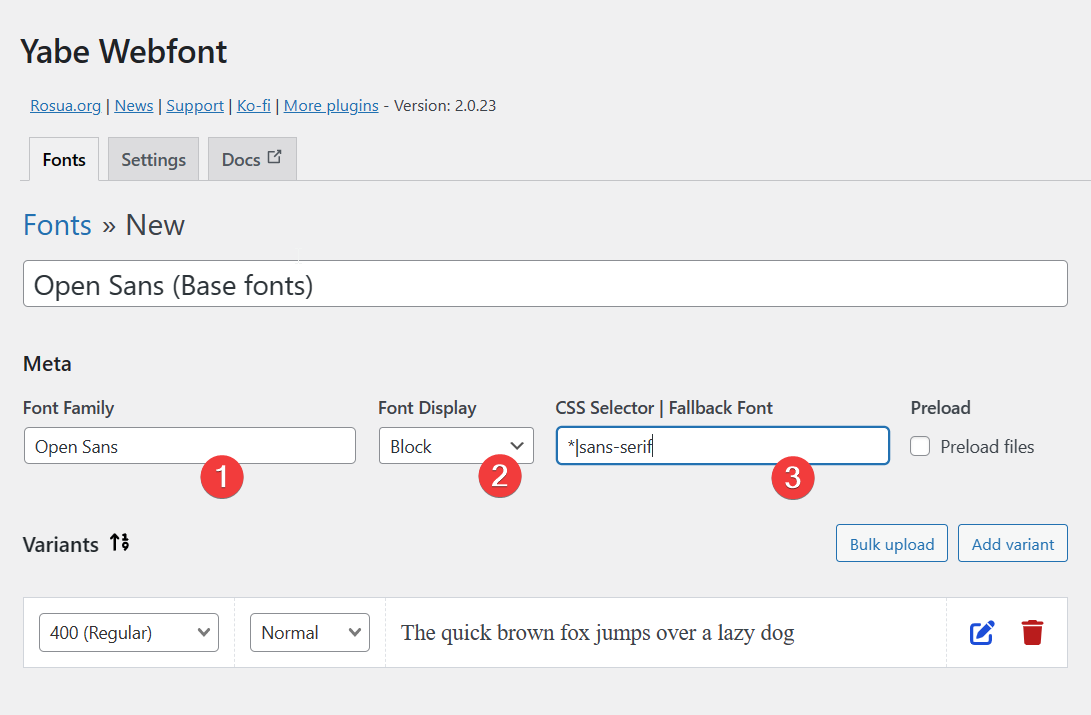
- Give your font a family name on the Font Family field.
The family name will be used to identify the font in the CSS code. You can also change the title of your font on the Title field to make it easier to identify your font in the font lists.
- (Optional) Set the Font Display option to Block.
This option controls how font files are loaded and displayed by the browser. Learn more about the “Font Display”.
- (Optional) fill the CSS Selector | Fallback Font field with
*|sans-serif.
The * selector will assign the font to all elements on your website.
The font will be fallback to the sans-serif if the font file fails to load.
Step 3: Add font variants
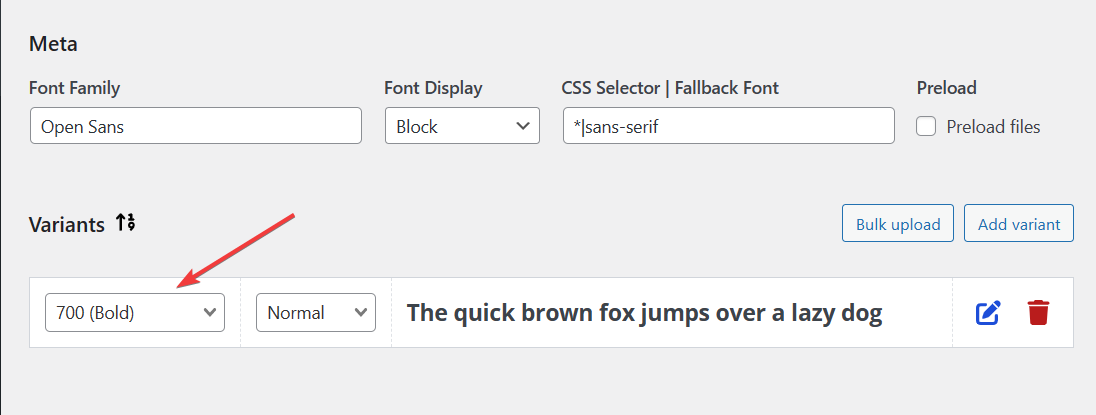
Section titled Step 3: Add font variantsBy default, a variant is added to the font.
On the font-weight field, choose the weight from the lists. You can also use a custom weight by typing the value on the field, such as 700 or 100 900 for variable fonts.
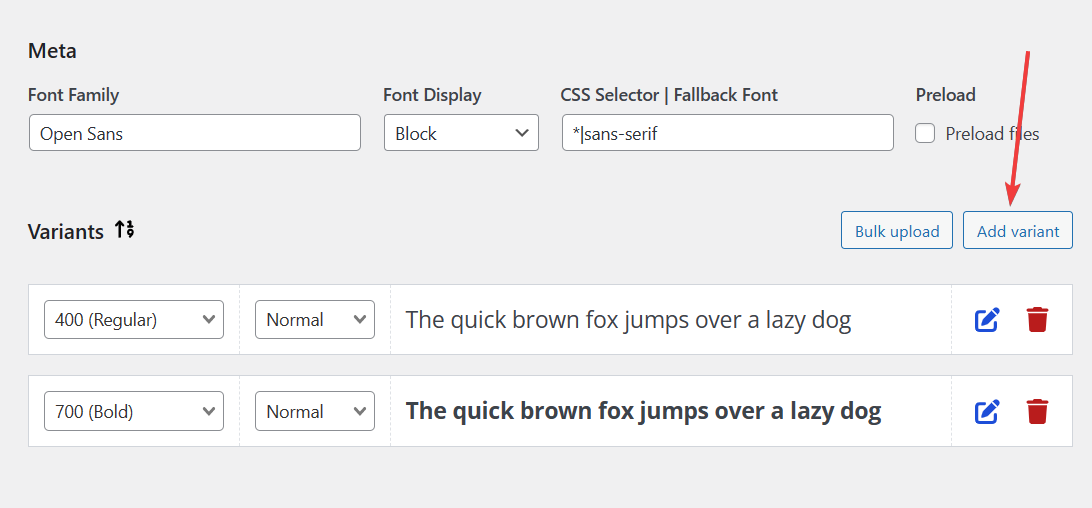
For additional font variants, click the Add variant button.
Step 4: Upload font files
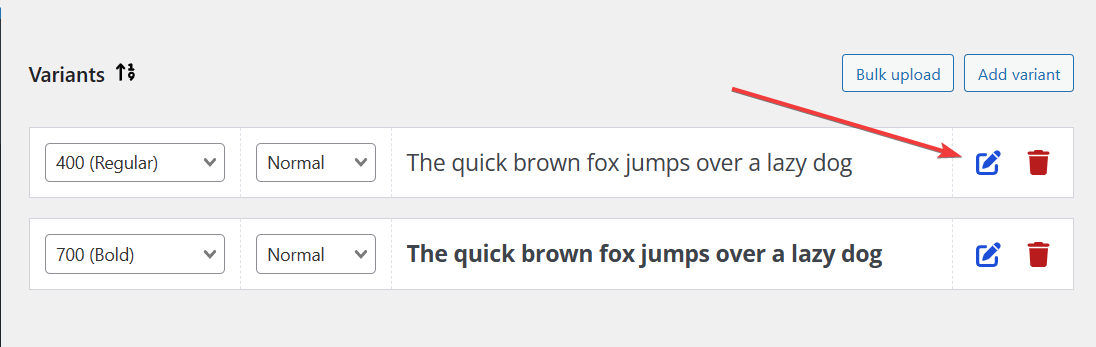
Section titled Step 4: Upload font files- Choose the font variant you want to upload the font file to and click the
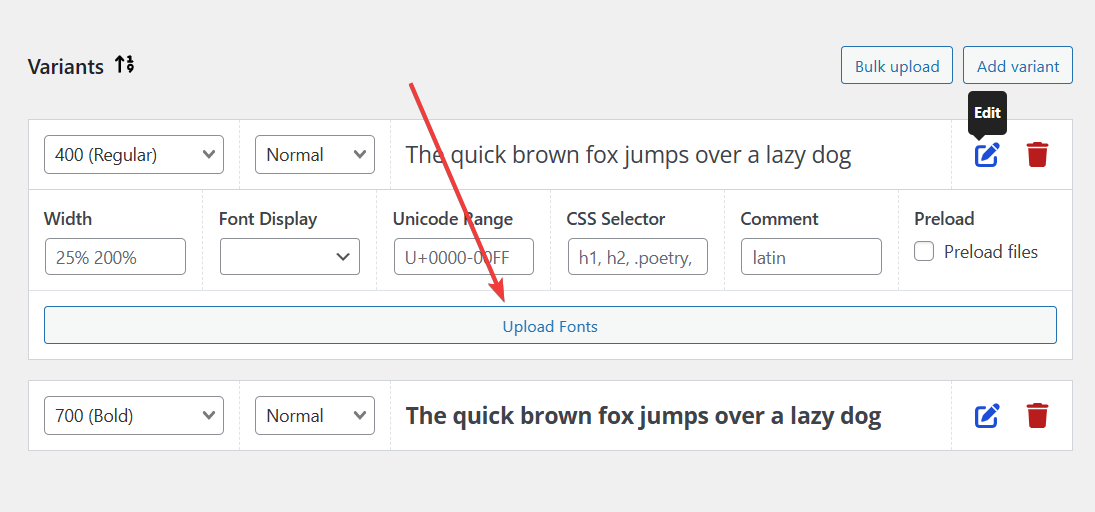
icon to expand the variant settings panel.
- Click the Upload Fonts button to open the WordPress media uploader.
- Upload your font files to the media library or choose the existing font files from the media library and click the Select button.
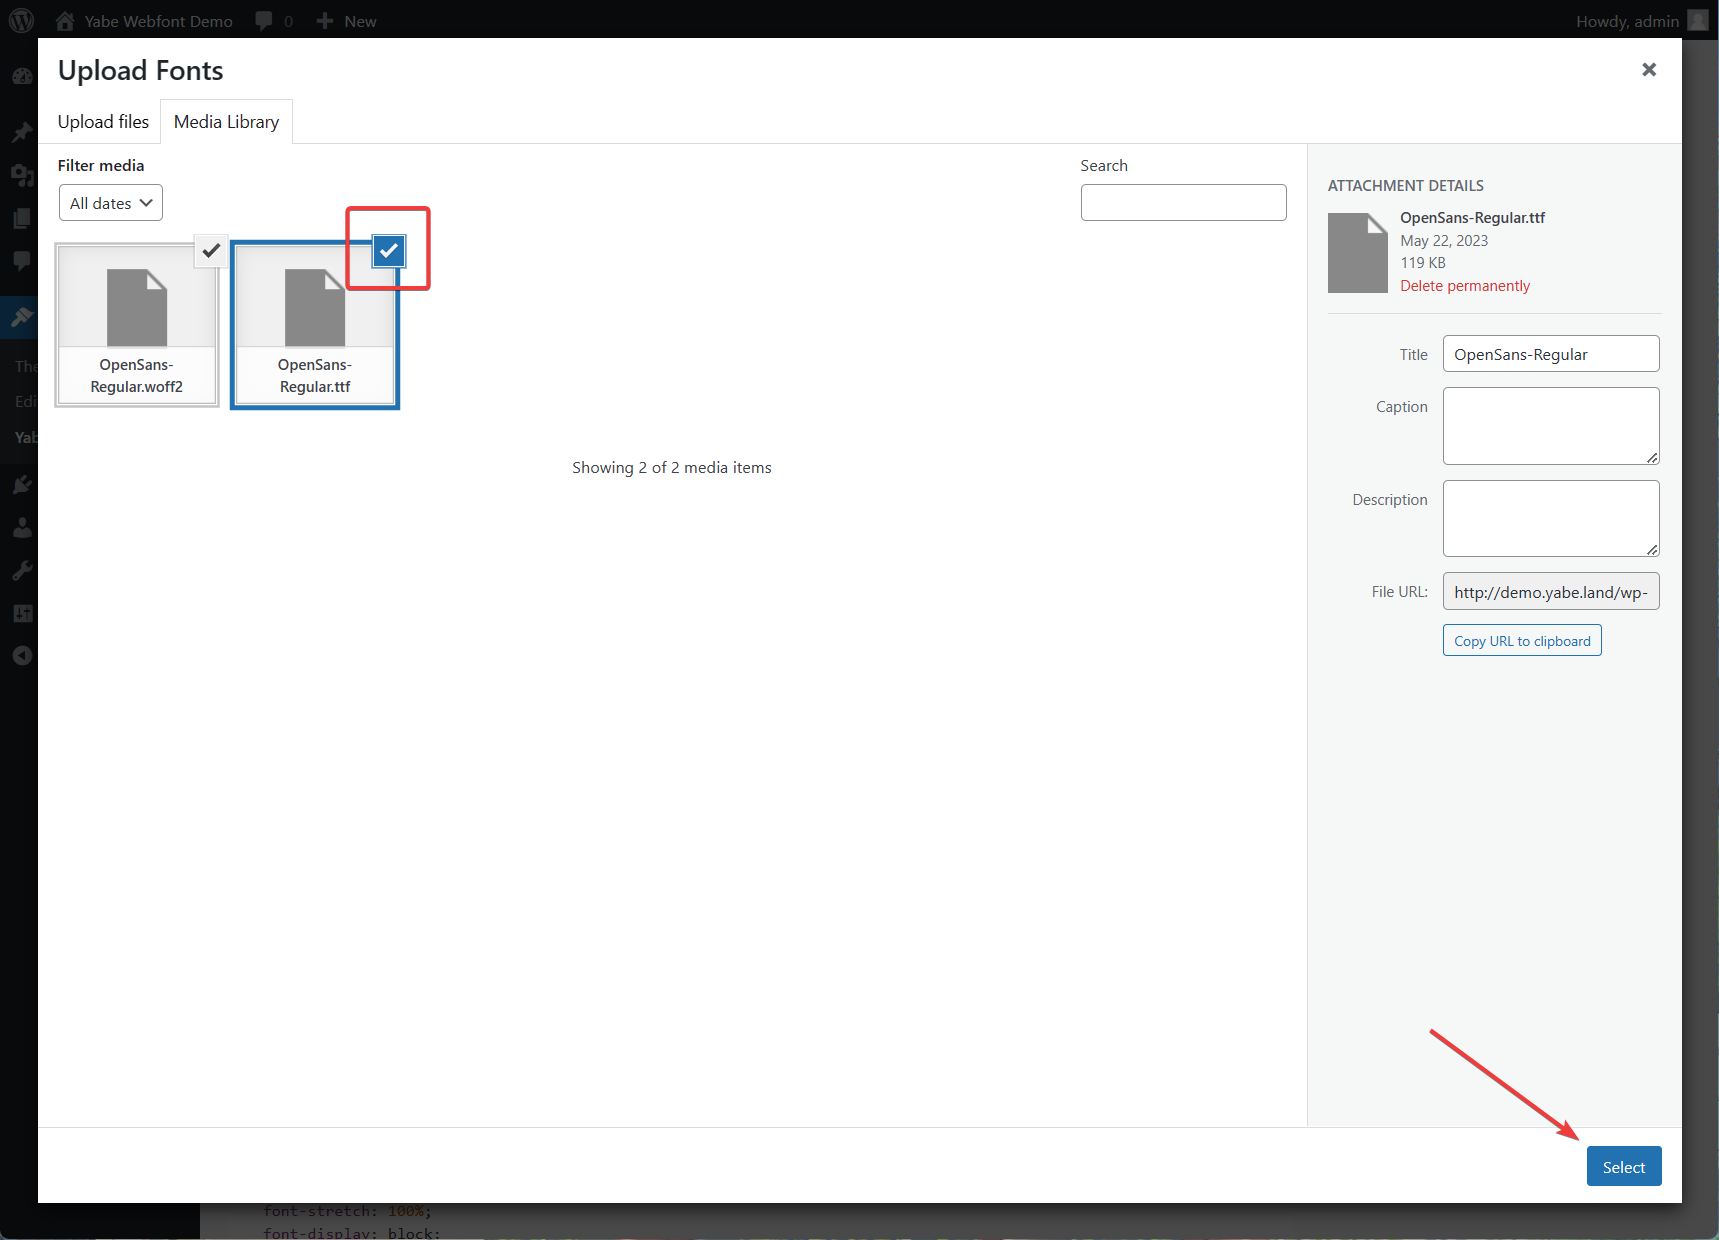
Once the font files are uploaded, they will be assigned to the font variant.

Continue to add font files to other variants if needed.
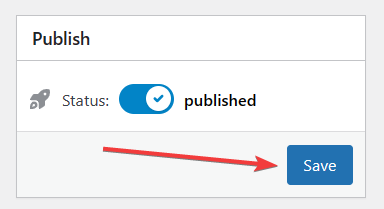
Step 5: Publish the font
Section titled Step 5: Publish the fontEnsure the Status toggle is set to Published, and click the Save button.